Lately it seems like folks have been asking me for a lot of advice on these winter races, especially the Arrowhead. It's something of a surprise as I don't really consider myself an "expert" on these things. I suppose I've been doing it for several years and had some success on both the bike and on skis, but folks seem to forget that I've failed just as many times as I've succeeded. As it stands I'm happy to answer as many questions as I can, but it should be remembered that I am not an expert or an elite athlete (as some have suggested), just a guy who kind of likes doing this stuff.
In any case, one thing I've been asked about is my sled. Here is how I built one on short notice when my old one had a zipper blow out. It's quick and dirty, but it got the job done for Tuscobia this year. I hope to make a nicer one before Arrowhead.
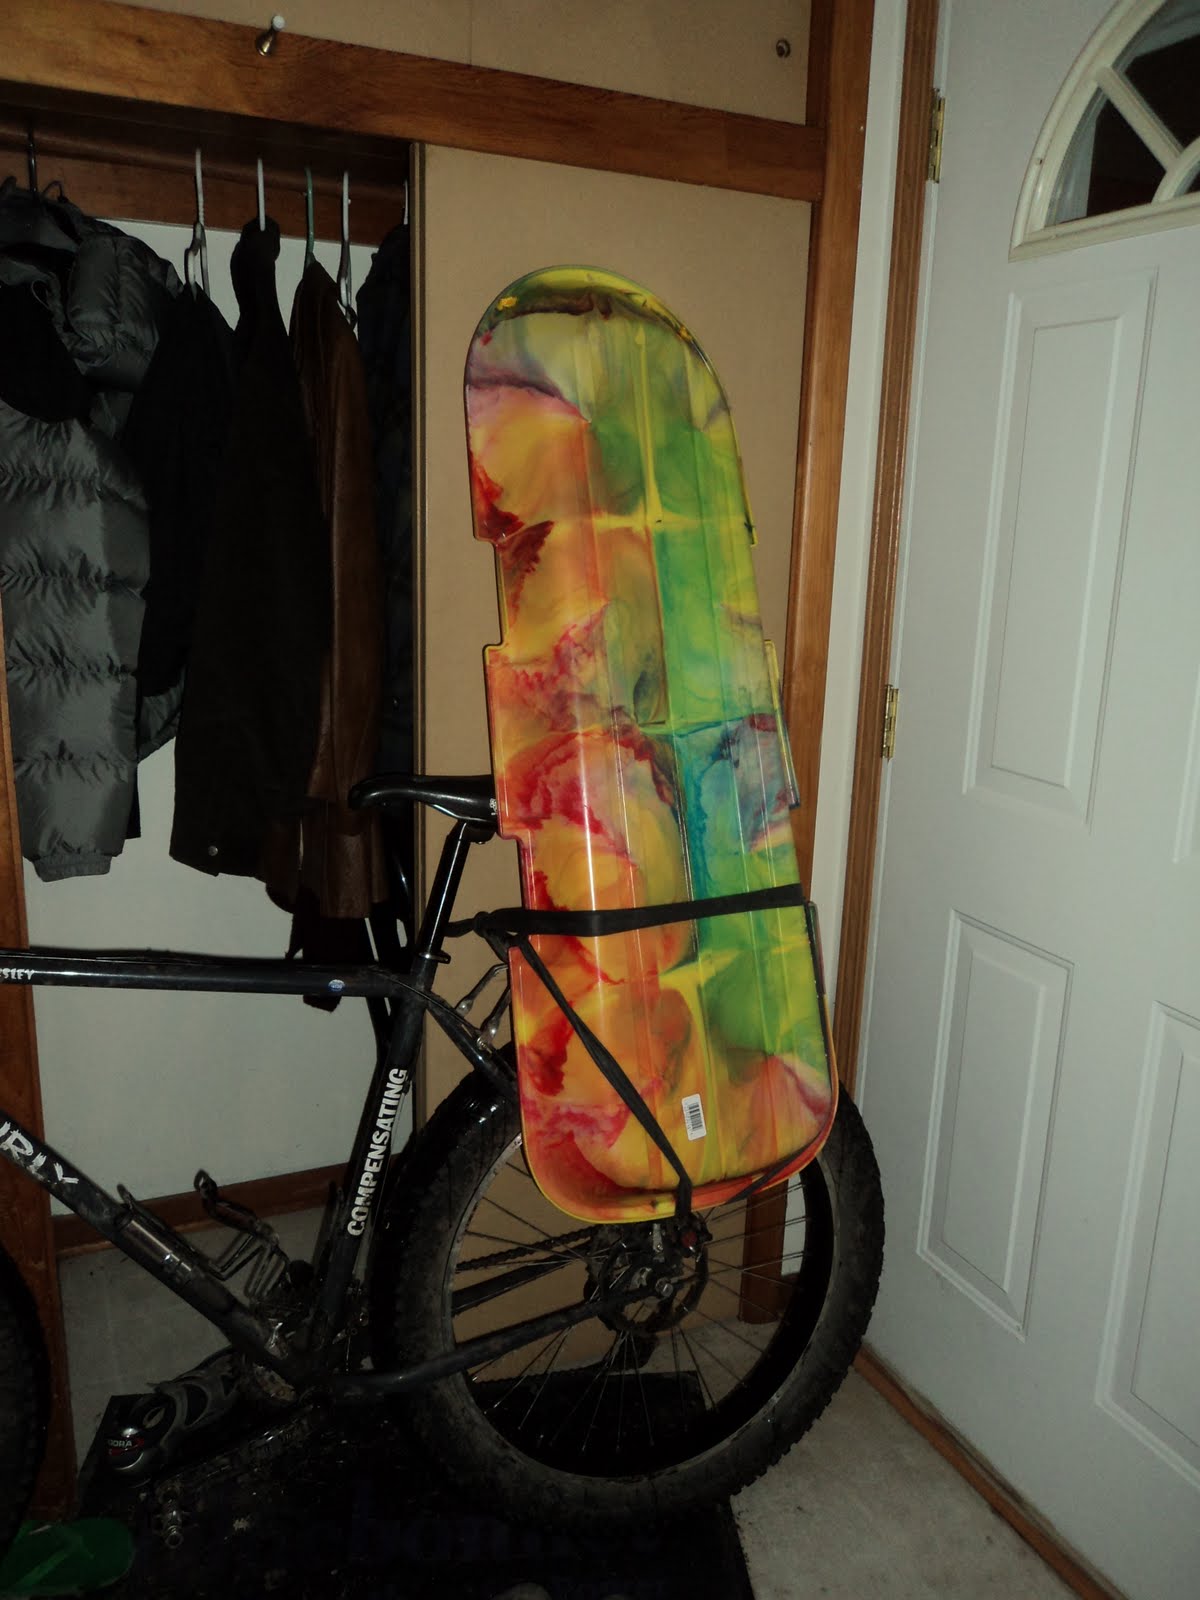 Step one: find a sled. A simple plastic toboggan seems to work best. Lots of room, light, durable, and cheap. Get it home however you like.
Step two: enlarge the existing rope attachment points to fit your rope. I used 9mm dynamic rope (stretchy) so that it would pull more smoothly and be stronger than I'd ever need it to be. Use what you like. It's not a big deal.

Step Three: Tie your rope in to the sled using a figure 8 follow-through. Other knots, like a bowline, would probably work fine (it isn't like you'll be hanging from it), but I can be a knot snob.
Step Four (no photo): feed your rope through a rigid tube of your choice. I used an old fiberglass ski pole, but others have used PVC pipe with some success. I like the ski pole because I know it won't weaken in the cold and it has a narrower inside diameter to more closely fit the rope. About two meters seems to be a good length for the poles.

Step Five: once you've threaded your rope tie a loop in the other end using a figure 8 on a bight (again other knots would probably work fine). I pull the rope tight and try to get some stretch out of it when I do this. It helps to keep the pulling system rigid and keep the sled from overtaking me on the downhills.

Step Six: toss a large duffel bag full of your gear in and strap it down. The strapping down could take a whole other blog post, but you could just tie it in with more rope. I have used parachute cord in the past, but on this sled I riveted nylon straps with buckles in to the sled. One downside to just tossing the duffel in is that snow can pack in around the sides.
Step Seven (no photo): attach to a waist belt with carabiners. I use a reversed fanny pack with loops sewn into the sides, but there are other options. I cross the poles and then strap them together where they cross. This makes for a directionally stable sled which is nice on downhills.

Step Eight: walk 75 miles with it. This isn't my ideal sled, but it was done on short notice and took less time than writing this blog post (about an hour).
No comments:
Post a Comment